Showing posts with label dollhouse. Show all posts

Thursday, April 9, 2015

Teeny tiny Whoopie pies!

For your pleasure....not snacking pleasure, but another sort of pleasure....

Tiny whoopie pies:


Served with chocolate curl and whipped cream!


And I'm working on a new diorama inspired by the work of Mark Ryden.....sneaky peek here:


I've got some new ideas for the borders, so once I work it out, I will have it up on Etsy as well, along with all the little extras that go with it. Let me tell you I made those tiles one by one out of clay, then painted them all...one by one. But I digress.....Golden moosehead!! Love him. No miniature moose were harmed in the making of this diorama. 


Friday, April 3, 2015

The Circus Arrives Without Warning....and so do I.

Yes, thats right, after MONTHS of not having a computer, trying to do everything through apps, hating my tablet and frustrated by my phone.....I have a normal life again.

Its weird, the screen seems so big.

ANYWAY, I've been crafting during my absense, and here is a result.....a Realpuki sized diorama, inspired by The Night Circus.


How cute is this little reveure? 

You can find the end result here: Night Circus Pumpkin

Monday, November 17, 2014

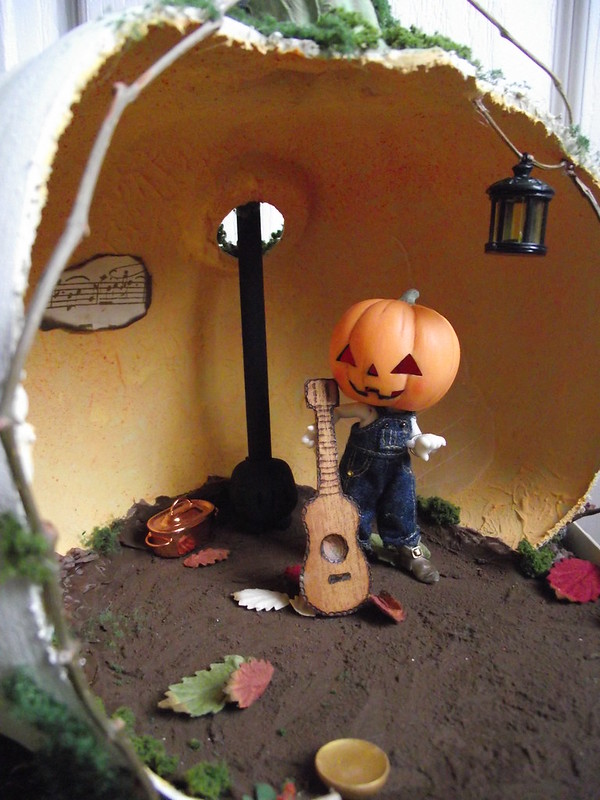
Mini pumpkin house- Realpuki size.

So I keep making these things.

I thought I'd offer some of them for sale, because it's getting a little weird up in here. We got pumpkins all over. And honestly, I love making them. I can't stop. Therefore, I will offer a couple for sale in my Etsy shop, Lovefool Designs. (Which I haven't used in forever, since my ole jewlery craftin' days)


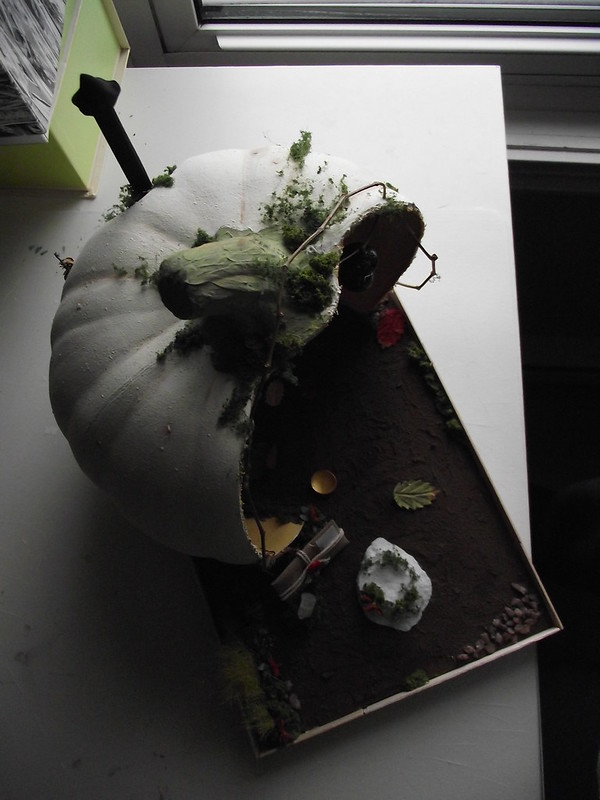
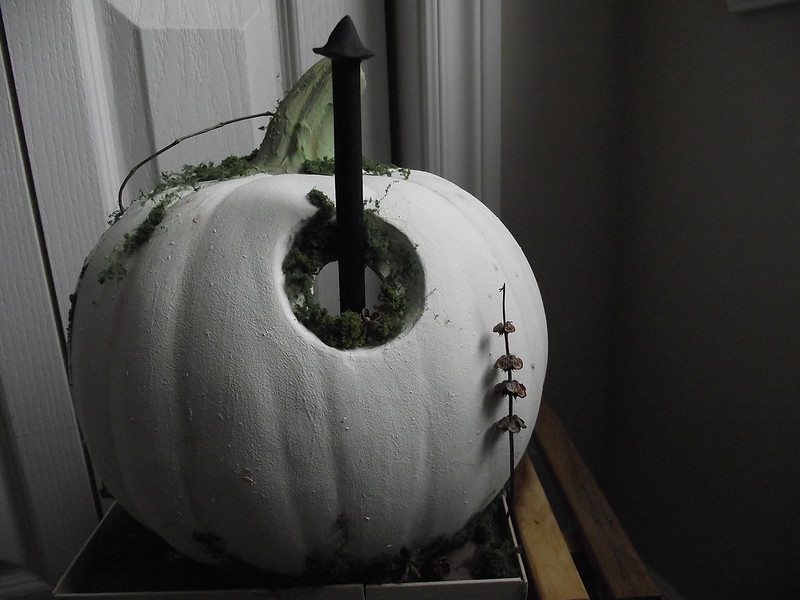
It is a realpuki sized diorama, made with various, various crafty materials.  You can see Jackie here, with his guitar (neither of which are included in the selling of this diorama) lookin cute and giving a good size reference.


Here's a cute little garden sculpture, made with some glass I found at the beach, and moss which I am addicted too. 

I'll add some more pics and list in on Etsy as soon as I can get a shipping quote. But i really hope someone likes it. I love it, but I made it so it really doesn't count. I can't be the only one out there obsessed with realpuki pumpkin houses!


Monday, March 17, 2014

Mini antique hutch project....

I've been working on this little cutie lately. When I got it, it was just plain wood, so I decided to paint it my current favorite colour, mint green. The knobs and feet are a nice metallic gold, and inside the hutch I painted tiny little shabby roses. I scuffed it up a bit for an old look, and it currently has a couple of layers of a varnish. I think I might add another layer, not sure yet....and those shelves....the edges facing outward, need something. Something. Dunno what yet. And of course, it will need some cute little dishes, maybe a bowl of apples? A doily for sure....Suggestions welcome!


hutch

hutch

hutch

Monday, August 12, 2013

Where there's candy, you will find Tinsley....

You know what rocks? Snacks.

Posh snacks, while wearing a girly party dress, in your pink abounding home.


That candy jar hidden way up top looks empty.....but it isn't. Unless she ate them when I wasn't looking.

Wednesday, August 7, 2013

Macro Sundae

So, I've been trying to get some of my many half finished projects done.

I found all these little ice cream scoops I made, and decided to finally put them together to make a sundae.

It seems like maybe I need a cherry on top, but I do like how it looks so far!


I would love to be able to sell these on Etsy or something, but it seems there are already a zillion people doing just that. There has to be something original I can come up with!

Tuesday, April 9, 2013

Curtains for the pumpkin house.....or, a tutorial on how not to do things.

Ok, so I saw this idea on another miniature blog somewhere.....I thought I bookmarked it, but I have no clue where it went, so thank you, mystery blogger for the idea.

I thought some curtains would really bring the pumpkin house together, and I would love to finish it this year, so this was my jump off project.

Scraps of fabric, brass tubing and some little brass beads with holes.


I cut the fabric into same sized rectangles and folded over some seams...this was super easy because of the checkered fabric, very helpful in measuring!


I used a fabric glue to do all the seams....because I hate sewing. This was fast and easy.


Then I inserted the brass rod and scrunched up the curtains, pinned them to a styrofoam...I had seen this on the blog, only she didn't use pushpins and she didn't use styrofoam. Don't use pushpins or styrofoam. Pushpins are really thick and left obvious holes in the fabric.....sewing pins are way more discreet.

The mystery blogger sprayed her curtains with hairspray to hold them.....I used a spray adhesive. Don't use a spray adhesive. It does not dry well, it made everything sticky AND it melted the styrofoam! Fun!

 
Here are the little brass balls glued onto the rod.....You can really see how 'well' the spray adhesive worked here.....(sarc.)

 
Aaaaaaaaand a couple of shots from the glue gun, and they are hanging up! how cute huh!
 
 
SO, this can be a quick and easy project, if you do things NOT the way I did them.
 
Next....I would like to have the chimney pipe installed, and the little lanterns hanging on the sides! Get the table in there, with a little matching cloth....it might start to look like home!!!!
 

Monday, March 11, 2013

Bell Jar project PART ONE:

My friend and I were at Winners/Home Sense on the weekend and we saw this cute little bell jars for easter....We liked them but were to cheap to buy them, and the downside was they were VERY
easter-ish, I don't decorate for easter, so....whomp whomp!

But happily, my "I can do that but better" instinct kicked in, and I bought some (bigger and nicer) bell jars to make my own.

SO- here is how I am going about making my own bell jar miniature scene.


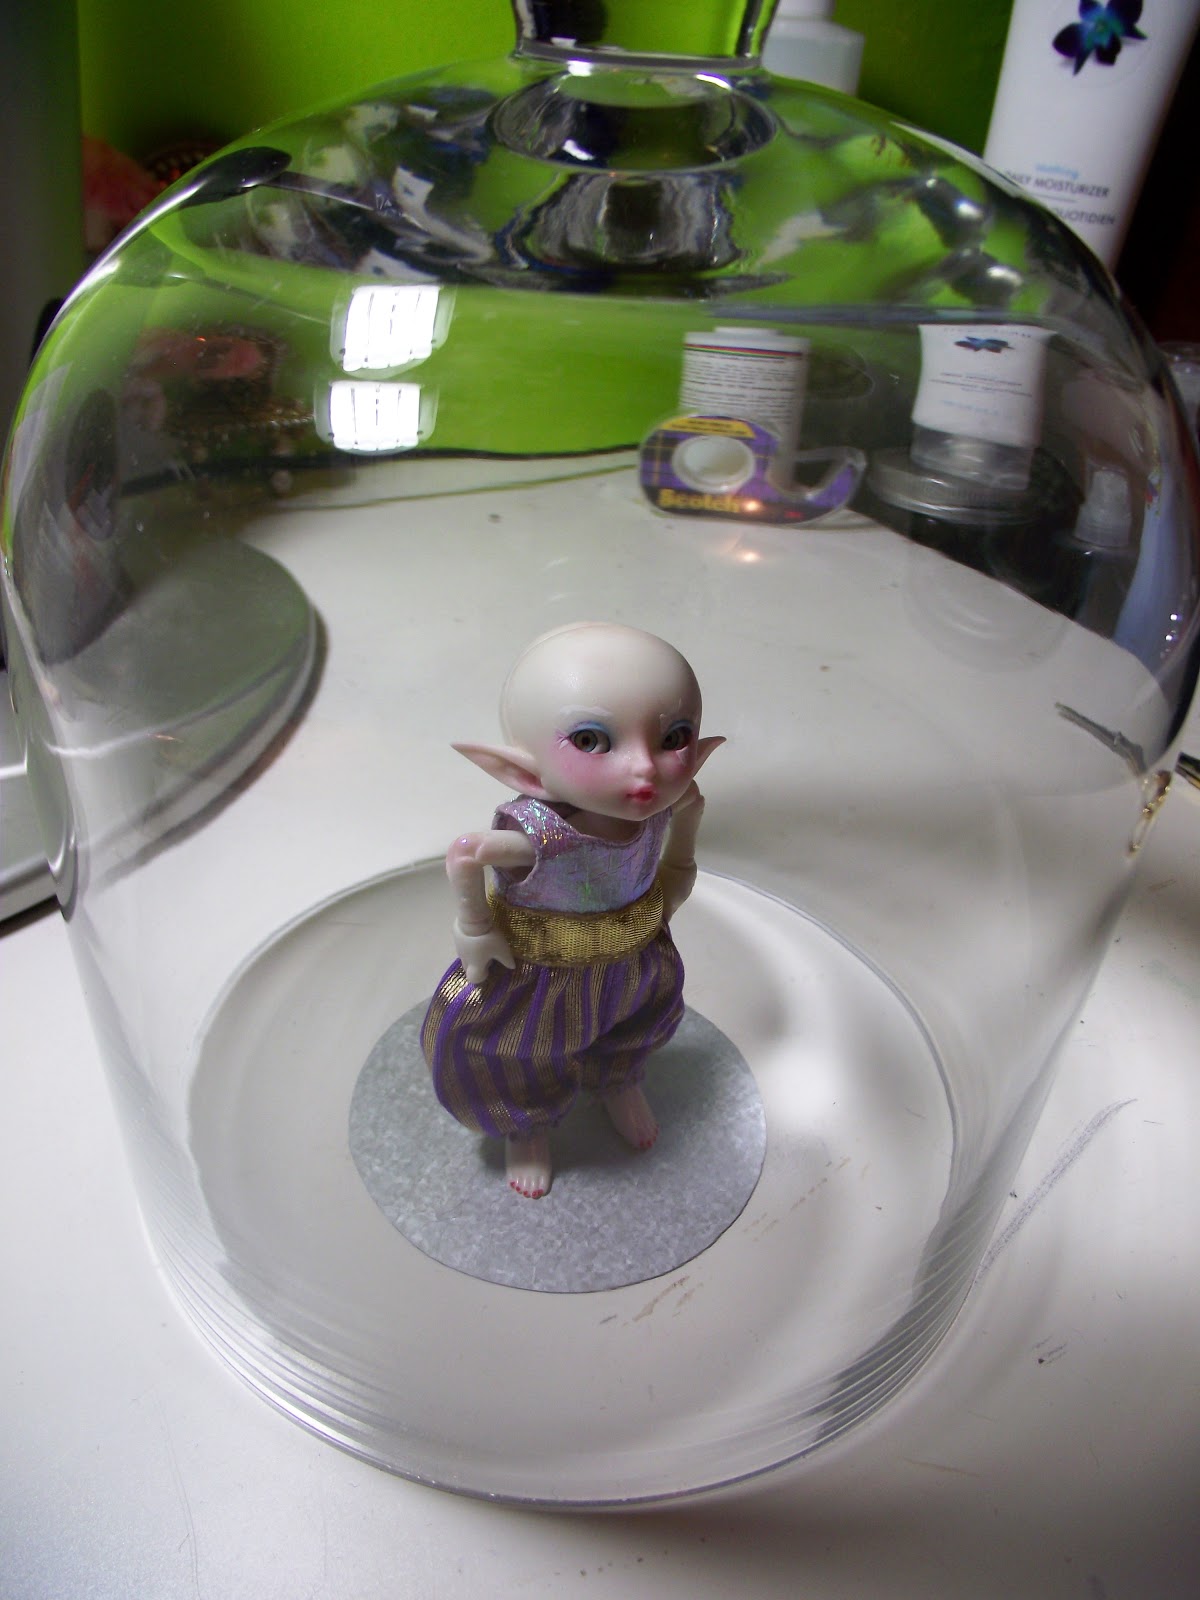
Here's the bell jar, it was 6$ at Home Sense....its a pretty big one, you can see my realpuki in there, she is not impressed.

I had some 1/2" foam board I wanted to use as a base, so I wet the rim of the bell jar and marked the foam so I could get the size of the base. Then I traced around with my exacto, and then went around a second time, making sure to pierce through the cardboard on the opposite side. Try to keep the blade straight, you don't want too much of a bevel on the foam.


                                                    Cutting around the 2nd time.....


It's not a perfect fit, but its an ok fit and the glue will plug up the open spaces.
 

Give it a test...if it doesn't fit shave off some of that foam!

I had some branches from a Thornapple tree that I wanted to use. It took a lot of cutting, snipping and testing before my tree fit in perfectly.

Pop it into the base! Easy peasy....my branch is off center cause one of the branches sticks out, and I'm gonna use a nest in there somewhere, which should end up smack in the middle of the bell jar.

Meet your new best friend, modeling paste. I love this stuff. This is what will make the 'dirt' on the base.

I mixed the modeling past with some sand, and brown paint, all which I found at the dollar store.Those little rocks will be sprinkled around the base.


Here is the paste, with paint and sand....
 
 
Splutz it on, all over the base. Give it a bit of texture with the paint brush.

Use a spoon, or a small something (lucky my dollhouse was nearby, so I could borrow a shovel) and sprinkle on some rocks...tap them down gently with your finger, but try not to move them around too much. You want the paint/paste to act as a glue, but not to colour the stones.


Ok, that is drying now....I'll have to continue this next time....my favorite part is coming up: MOSS.
I love love love fake moss!

Thursday, March 7, 2013

Always in bloom at the pumpkin house...

Moss and blooms and rocks....

I cannot wait till winter leaves. I think my goal this year should be to finish this dang pumpkin house!!!

Thursday, March 3, 2011

The Pumpkin house....

Ok, well I have been toying with ideas for making a home for my Realpuki Roro, Ghost.
And I can't help it, even though it's been done....I want to make a pumpkin house.
Luckily, we had a crap-ton of halloween decorations boxed up, and I found a nice big pumpkin to carve up.

I wanted the inside to look like an actual dried out pumpkin, so I concocted this recipe of acrylic texture paste, craft sand, yellow and cream paint, and some pastel dust:


So I mixed it up and smeared it on:


And then added some pastel dust for effect, just scraped 2 shades of orange onto the paper with a blade, and then I gently blew it into the wet....'recipe':


And here it is, dried, with the cardboard beginnings of the stone fireplace (which I worked on today and will post pics of very soon- its AWESOME). I really like the colour, and am VERY excited about this project!:


Monday, May 3, 2010

So I spent a buttload of money on an Alice Cherry Blossom...

Yes, after years of stalking them on flickr, and maybe because it just took me that long to be able to be comfortable spending that kind of money on a 'doll'...
anyways, I now have the holy grail- Alice Cherry Blossom.

I decided to build a little shadow-box room for her, and furnish it, so it will look snazzy and I can take awesome photos.

It was both harder and easier than I thought it would be.

Here's what I did:

1) I didn't want to use nails, or handy-man sort of stuff, so I glued some balsa onto what will be the floor of the room. This was an easy thing- just had to be sure all my measurements were correct. Wood glue is way stronger than I anticipated.


2)I glued my wallpaper to the wall peices before assembly. This was flippin hard. Like, really, really hard. I ruined a lot of paper. But I did learn that it is better just to glue down the edges, instead of trying to apply it like real wallpaper. I just used regular white glue, very sparingly. Here were the papers I had bought, and the carpet for the floor. The purple paper is some handmade stuff I found at the art store, and the pretty pattern one is scrapbooking paper.


3) I glued the walls to the floor, using the balsa as a guide and brace....when the glue dried, it was really really solid. I didn't think it would work out this well.


4) I stuck the carpet in....very easy, it has an adhesive backing. Here's my Alice standing where her bed will possibly be. I still have to put the mouldings up, but I'm pretty happy with how it looks so far!