After this step, I'll let things sit for a few hours and make sure it's all glued on really well....all those little rocks....cause once this is closed up, it ain't gonna open again!

Voici le moss.....I have two types here, one thats just clumps, and one that is finer, almost like a netting woven with string.

The netting type moss works best as the base moss....i cut it with scissors and then rip it up to make it look more natural. Then I'll use tweezers to place clump moss on top of that.

Cover up the edges really well. Just put moss wherever, seriously you will enjoy it!

Here's a zoom of the netting type moss, and look how good the 'dirt' looks thanks to adding in the sand to the modeling paste!
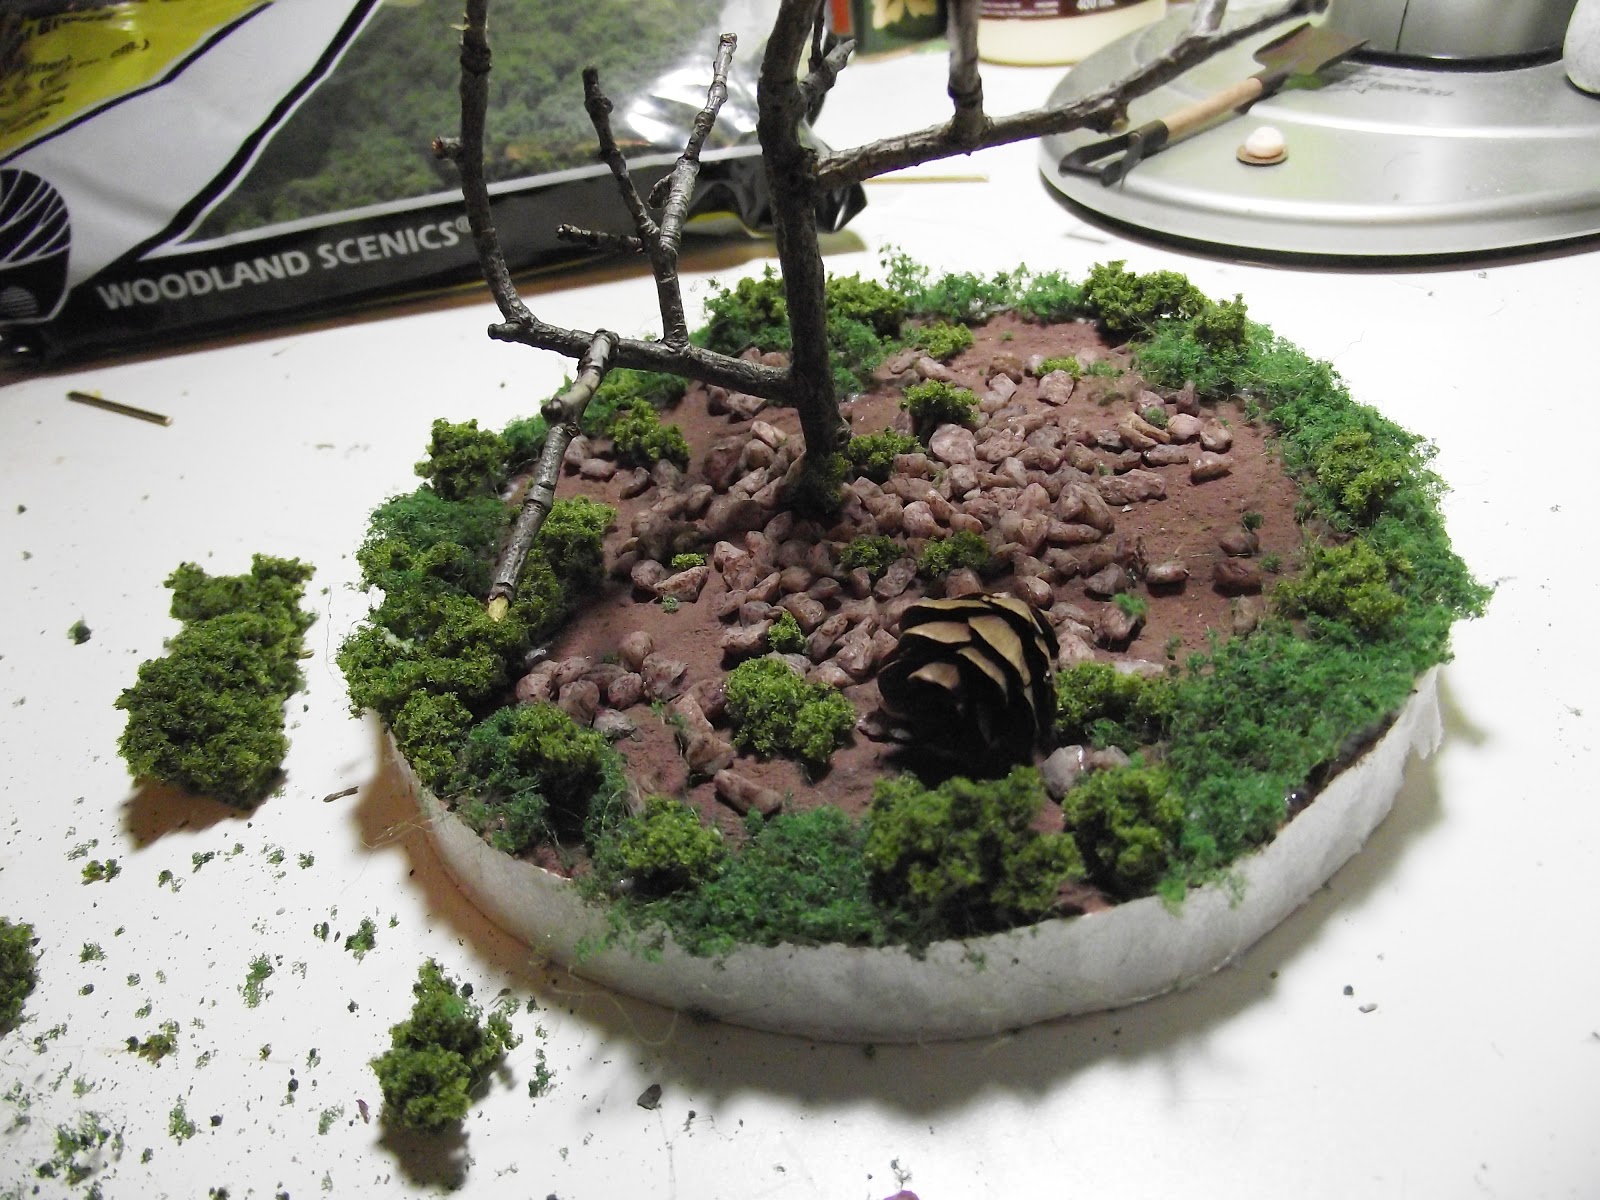
I found a little pine cone to pop in here....I just realized I'm missing the tiny flowers I bought, so I will have to add those in part three....he he he.

I popped in a nest I found at a craft store, and stuffed more moss whereveer the glue between the nest and branches was a little too obvious. Going to leave this dry overnight while I wait for more ideas....and take a trip to a crafty store. I know what I'd like but I probably won't find it...I'm really good at convincing myself I've seen stuff that actually doesn't exsist and then I waste my time shopping for it.
Part Three to follow......
No comments:
Post a Comment