Showing posts with label miniature. Show all posts

Thursday, April 9, 2015

Teeny tiny Whoopie pies!

For your pleasure....not snacking pleasure, but another sort of pleasure....

Tiny whoopie pies:


Served with chocolate curl and whipped cream!


And I'm working on a new diorama inspired by the work of Mark Ryden.....sneaky peek here:


I've got some new ideas for the borders, so once I work it out, I will have it up on Etsy as well, along with all the little extras that go with it. Let me tell you I made those tiles one by one out of clay, then painted them all...one by one. But I digress.....Golden moosehead!! Love him. No miniature moose were harmed in the making of this diorama. 


Monday, November 24, 2014

Teeeny tiny soft serve....

....for your teeny tiny sweet tooth.


I made these guys awhile ago and have enough to share, so I listed a pair on Etsy.


Also, I've been using Flickr more often, and I notice now you can see all the details of how I took the photo, like my type of camera, ISO and f-stop and stuff, or something. I really don't enjoy that, everyone is going to see how photo illiterate I am. This sort of sucks. On the other hand, I guess the pressure is on to actually learn how to use my camera. 


Monday, November 17, 2014

Mini pumpkin house- Realpuki size.

So I keep making these things.

I thought I'd offer some of them for sale, because it's getting a little weird up in here. We got pumpkins all over. And honestly, I love making them. I can't stop. Therefore, I will offer a couple for sale in my Etsy shop, Lovefool Designs. (Which I haven't used in forever, since my ole jewlery craftin' days)


It is a realpuki sized diorama, made with various, various crafty materials.  You can see Jackie here, with his guitar (neither of which are included in the selling of this diorama) lookin cute and giving a good size reference.


Here's a cute little garden sculpture, made with some glass I found at the beach, and moss which I am addicted too. 

I'll add some more pics and list in on Etsy as soon as I can get a shipping quote. But i really hope someone likes it. I love it, but I made it so it really doesn't count. I can't be the only one out there obsessed with realpuki pumpkin houses!


Monday, March 17, 2014

Mini antique hutch project....

I've been working on this little cutie lately. When I got it, it was just plain wood, so I decided to paint it my current favorite colour, mint green. The knobs and feet are a nice metallic gold, and inside the hutch I painted tiny little shabby roses. I scuffed it up a bit for an old look, and it currently has a couple of layers of a varnish. I think I might add another layer, not sure yet....and those shelves....the edges facing outward, need something. Something. Dunno what yet. And of course, it will need some cute little dishes, maybe a bowl of apples? A doily for sure....Suggestions welcome!


hutch

hutch

hutch

Monday, March 10, 2014

Rhino on the loose...looking for a new home.

014 So this guy is up for consideration. I would like 220$ + shipping, he is a complete full set and been out of his box 3 or 4 times. Lookit those little nostrils. How precious!

I'd also accept trades for:
Littlefee chole, ante -no elves
Blythe dolls
IMDA Babette or Gian 2.2
Souldoll Sophie full set
Souldoll Heber
I've got feedback from DOA and some on etsy if it helps.

Sunday, August 4, 2013

My little Mica....

Is it cheesy if I call him Rataxes? He is seriously cute.

 
I left my dollhouse somewhere safe when we moved a few months ago, it seemed cumbersome and I was petrified it would break but I really need to get the doll house over here, because I keep making empty roomboxes as temps and its getting a little ridiculous. If I could just contain myself and stop starting 39090 things without ever finishing them.....ugh. Anyway, I feel like my roomboxes look cold and empty, like I don't have enough furniture to clutter them up and make them look homey. Mind you, I probably do.


When I'm not working on other things, I started making some teensy food with polymer clay. I know, unheard of, right. My little ice creams (pictured here, one of many) came out pretty cute though!
 
 
Expect more photos, now that I can take them again....I also went through this thing where I was gonna sell my minifee, and then I got her a new wig and love her again, you know how it is!

Tuesday, April 9, 2013

Curtains for the pumpkin house.....or, a tutorial on how not to do things.

Ok, so I saw this idea on another miniature blog somewhere.....I thought I bookmarked it, but I have no clue where it went, so thank you, mystery blogger for the idea.

I thought some curtains would really bring the pumpkin house together, and I would love to finish it this year, so this was my jump off project.

Scraps of fabric, brass tubing and some little brass beads with holes.


I cut the fabric into same sized rectangles and folded over some seams...this was super easy because of the checkered fabric, very helpful in measuring!


I used a fabric glue to do all the seams....because I hate sewing. This was fast and easy.


Then I inserted the brass rod and scrunched up the curtains, pinned them to a styrofoam...I had seen this on the blog, only she didn't use pushpins and she didn't use styrofoam. Don't use pushpins or styrofoam. Pushpins are really thick and left obvious holes in the fabric.....sewing pins are way more discreet.

The mystery blogger sprayed her curtains with hairspray to hold them.....I used a spray adhesive. Don't use a spray adhesive. It does not dry well, it made everything sticky AND it melted the styrofoam! Fun!

 
Here are the little brass balls glued onto the rod.....You can really see how 'well' the spray adhesive worked here.....(sarc.)

 
Aaaaaaaaand a couple of shots from the glue gun, and they are hanging up! how cute huh!
 
 
SO, this can be a quick and easy project, if you do things NOT the way I did them.
 
Next....I would like to have the chimney pipe installed, and the little lanterns hanging on the sides! Get the table in there, with a little matching cloth....it might start to look like home!!!!
 

Tuesday, March 12, 2013

Bell Jar mini project Part Two- MOSS.

It's time to moss it up. You can NEVER have too much moss.
After this step, I'll let things sit for a few hours and make sure it's all glued on really well....all those little rocks....cause once this is closed up, it ain't gonna open again!

 
Voici le moss.....I have two types here, one thats just clumps, and one that is finer, almost like a netting woven with string.
 

The netting type moss works best as the base moss....i cut it with scissors and then rip it up to make it look more natural. Then I'll use tweezers to place clump moss on top of that.


Cover up the edges really well. Just put moss wherever, seriously you will enjoy it!

Here's a zoom of the netting type moss, and look how good the 'dirt' looks thanks to adding in the sand to the modeling paste!


I found a little pine cone to pop in here....I just realized I'm missing the tiny flowers I bought, so I will have to add those in part three....he he he.
 
I popped in a nest I found at a craft store, and stuffed more moss whereveer the glue between the nest and branches was a little too obvious. Going to leave this dry overnight while I wait for more ideas....and take a trip to a crafty store. I know what I'd like but I probably won't find it...I'm really good at convincing myself I've seen stuff that actually doesn't exsist and then I waste my time shopping for it.
 
Part Three to follow......
 

Monday, March 11, 2013

Bell Jar project PART ONE:

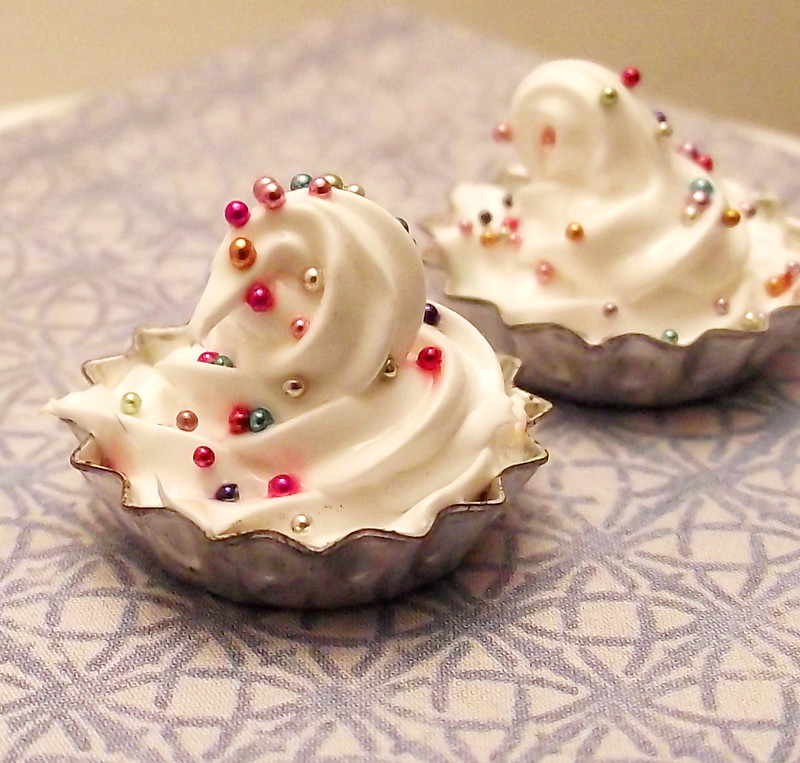
My friend and I were at Winners/Home Sense on the weekend and we saw this cute little bell jars for easter....We liked them but were to cheap to buy them, and the downside was they were VERY
easter-ish, I don't decorate for easter, so....whomp whomp!

But happily, my "I can do that but better" instinct kicked in, and I bought some (bigger and nicer) bell jars to make my own.

SO- here is how I am going about making my own bell jar miniature scene.


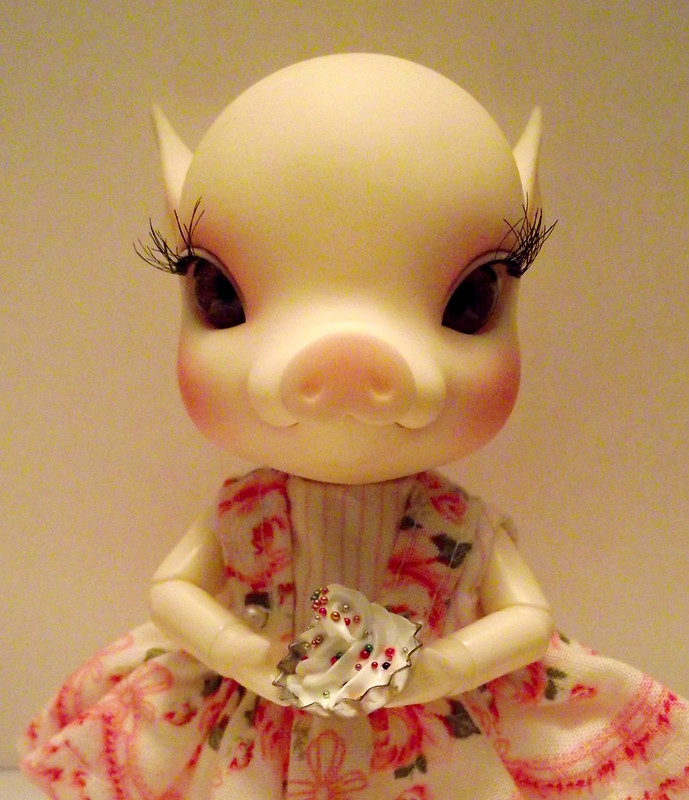
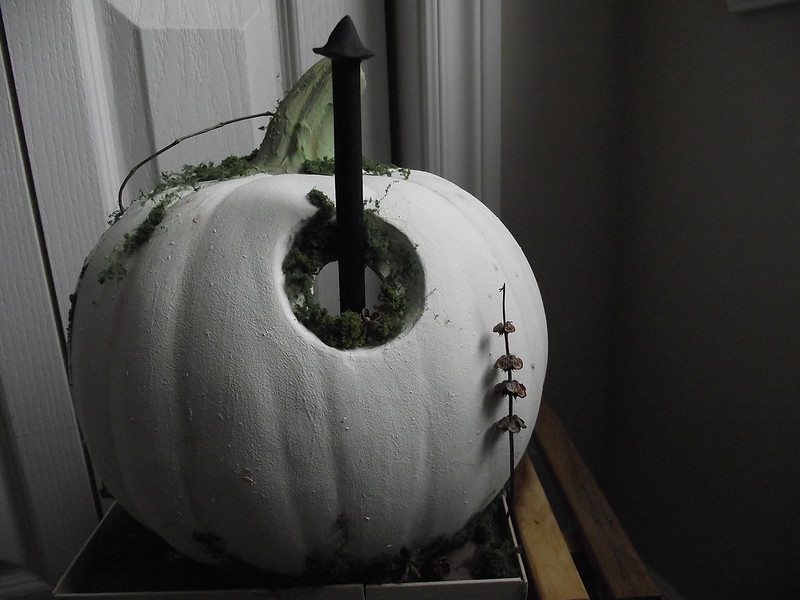
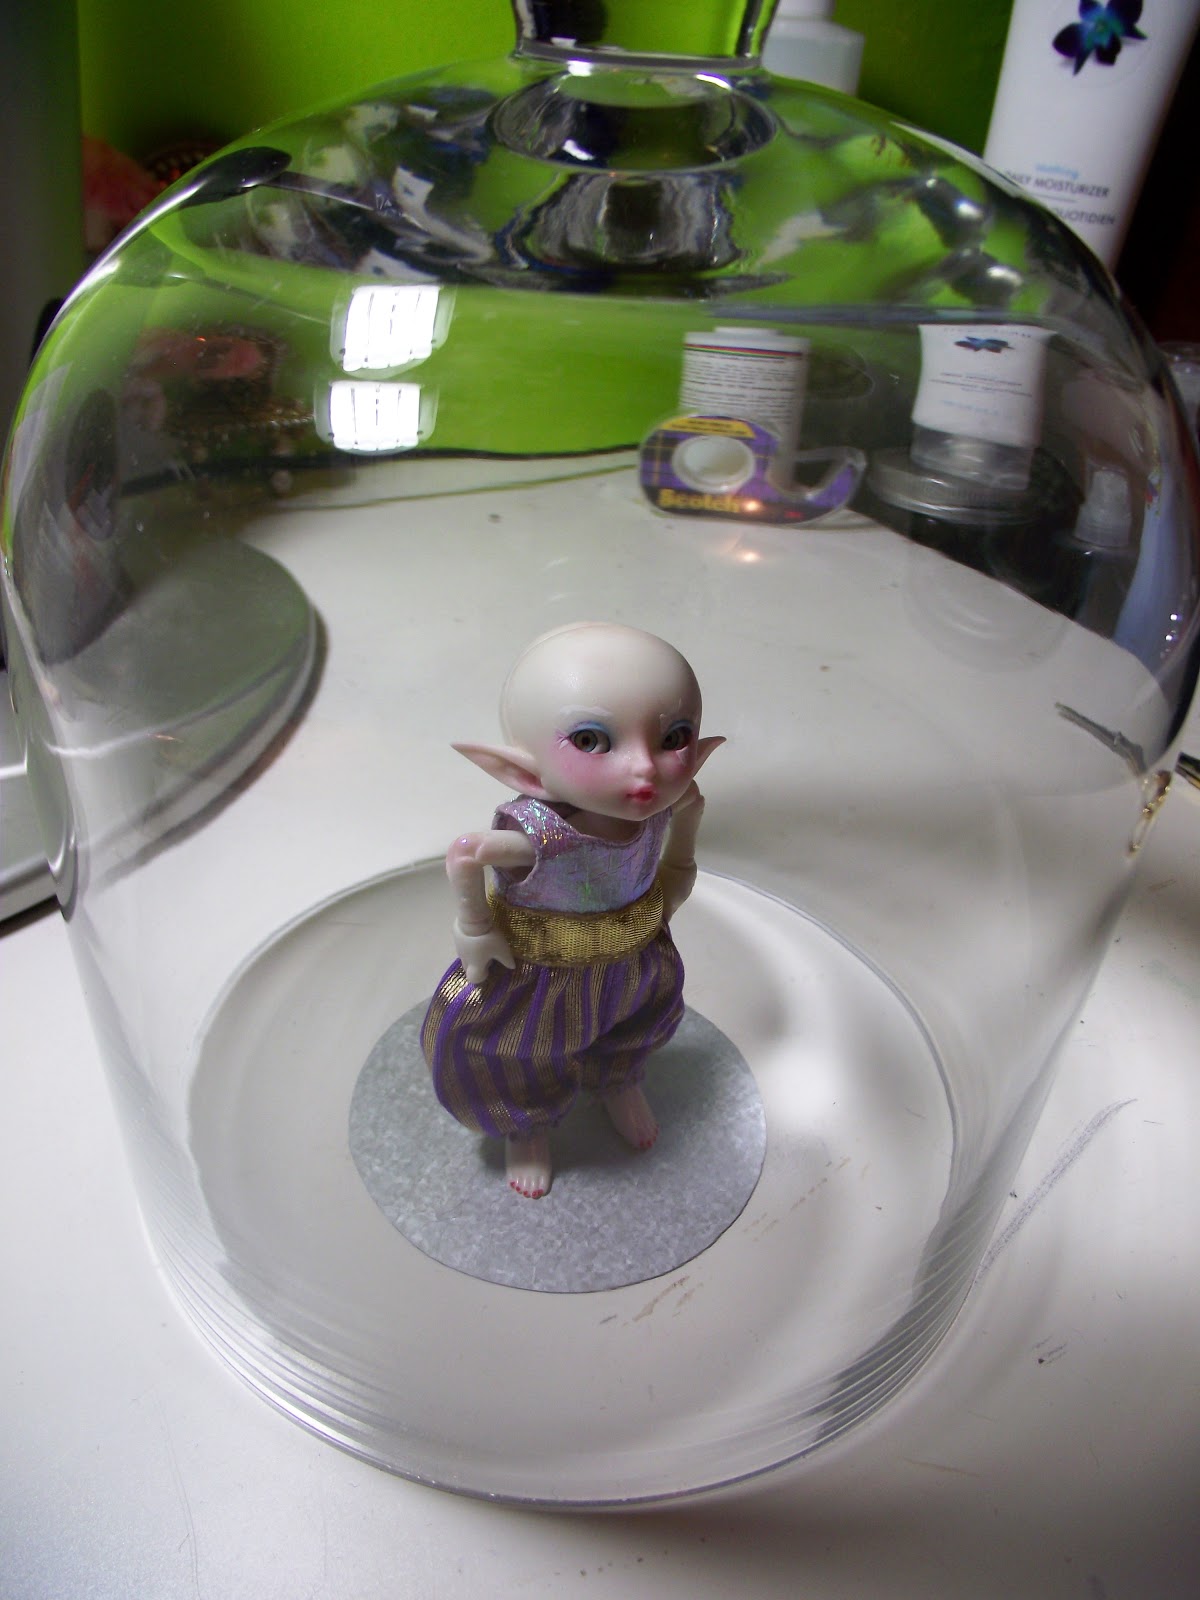
Here's the bell jar, it was 6$ at Home Sense....its a pretty big one, you can see my realpuki in there, she is not impressed.

I had some 1/2" foam board I wanted to use as a base, so I wet the rim of the bell jar and marked the foam so I could get the size of the base. Then I traced around with my exacto, and then went around a second time, making sure to pierce through the cardboard on the opposite side. Try to keep the blade straight, you don't want too much of a bevel on the foam.


                                                    Cutting around the 2nd time.....


It's not a perfect fit, but its an ok fit and the glue will plug up the open spaces.
 

Give it a test...if it doesn't fit shave off some of that foam!

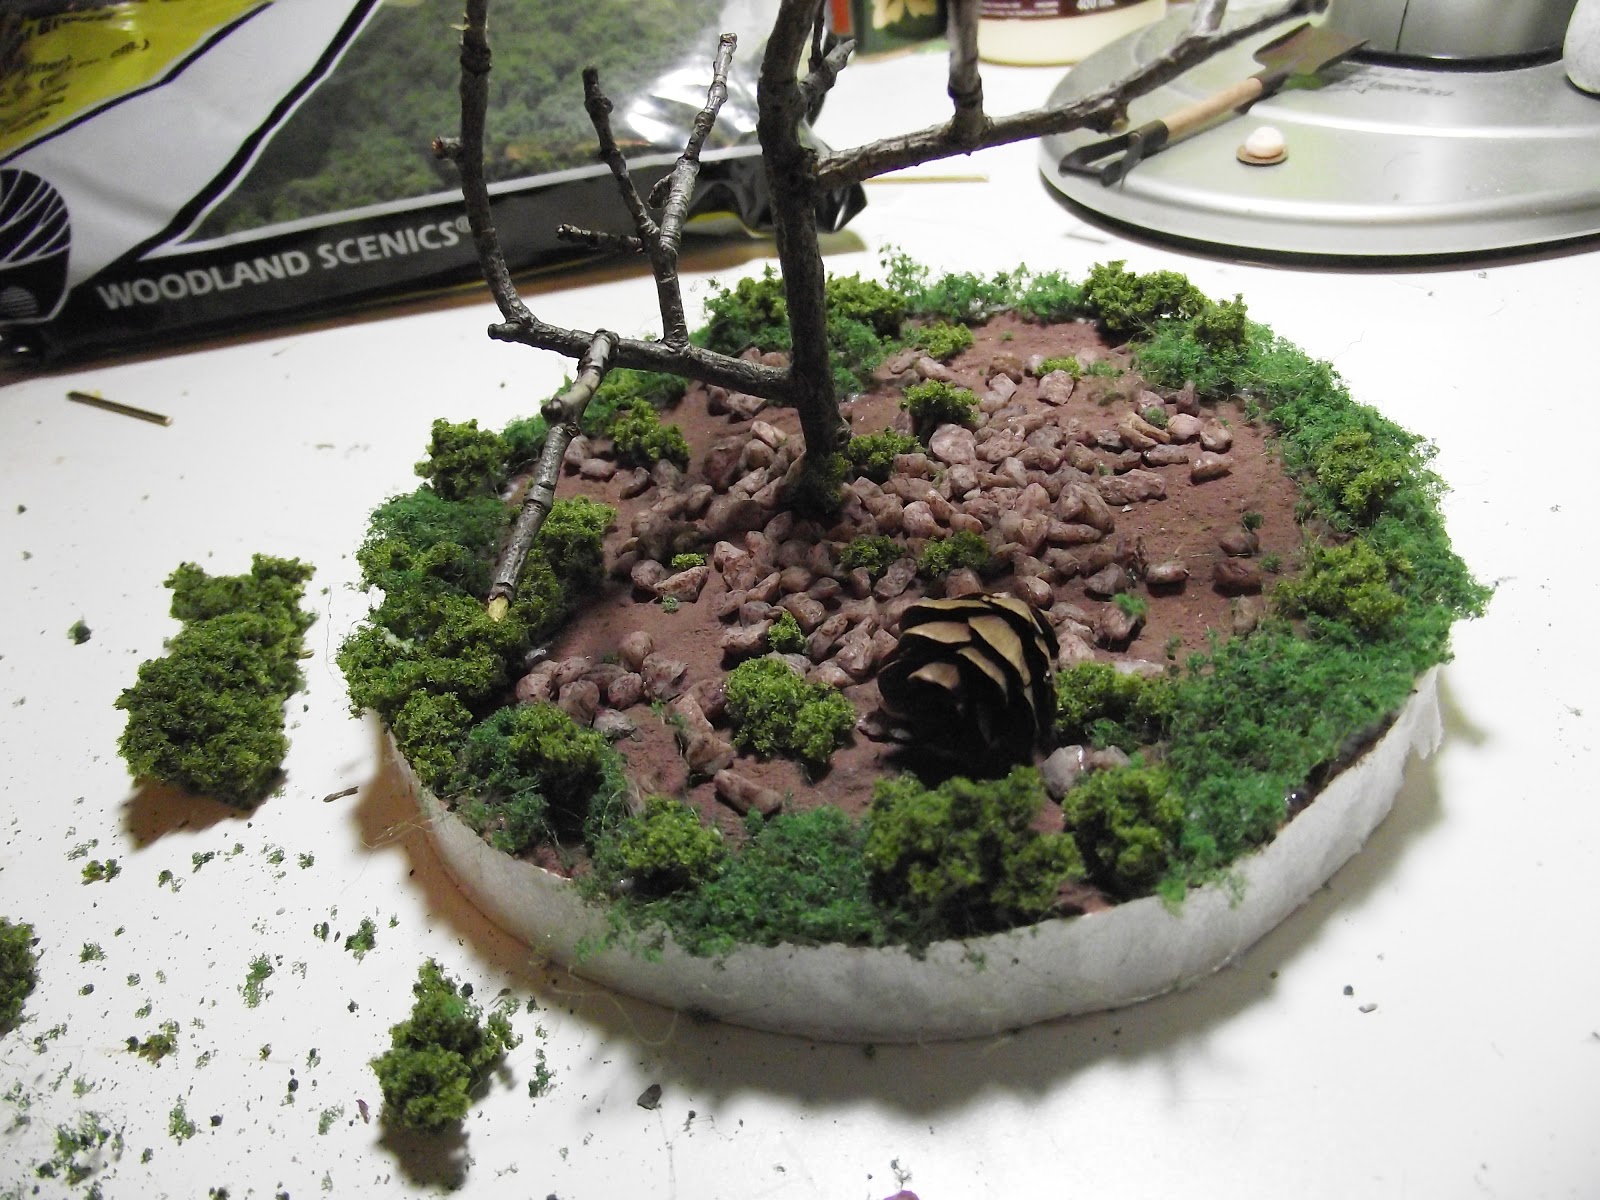
I had some branches from a Thornapple tree that I wanted to use. It took a lot of cutting, snipping and testing before my tree fit in perfectly.

Pop it into the base! Easy peasy....my branch is off center cause one of the branches sticks out, and I'm gonna use a nest in there somewhere, which should end up smack in the middle of the bell jar.

Meet your new best friend, modeling paste. I love this stuff. This is what will make the 'dirt' on the base.

I mixed the modeling past with some sand, and brown paint, all which I found at the dollar store.Those little rocks will be sprinkled around the base.


Here is the paste, with paint and sand....
 
 
Splutz it on, all over the base. Give it a bit of texture with the paint brush.

Use a spoon, or a small something (lucky my dollhouse was nearby, so I could borrow a shovel) and sprinkle on some rocks...tap them down gently with your finger, but try not to move them around too much. You want the paint/paste to act as a glue, but not to colour the stones.


Ok, that is drying now....I'll have to continue this next time....my favorite part is coming up: MOSS.
I love love love fake moss!